Fat and grease that end up in drains can cause huge problems as they congeal into giant ‘fat bergs’.
However during building work, the most likely culprit is construction waste such as rubble, mud, silt or even litter that has fallen into the drains. Inspection chambers and manholes are the common access points where ingress of debris can occur. Nobody wants to find blocked drains on a newly finished building, and equally no construction company wants their reputation to be damaged by handing over a property with blocked drains.
We all know that a jetting company can be called out, but there are costs associated with this that could be avoided. So how can you prevent it from happening in the first place? You can firmly fix the inspection chamber lids in place and try putting Terram geotextile sheeting into the chambers, but both of these options have limited success rates. This is why blocked drains are widespread across the construction industry, causing delays and frustration.
How to keep debris out of the drainage system
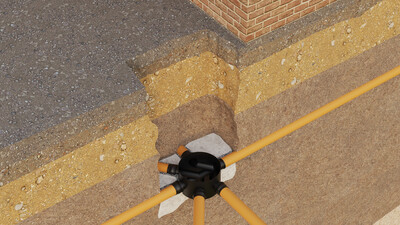
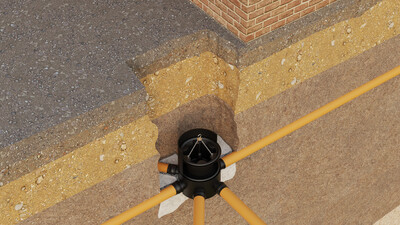
The best way to keep drainage systems free from muck, debris and rubble during building work is to install the MuckStopper system in every inspection chamber. Here is a step-by-step guide:
- Install the MuckStopper 450 once the first riser is installed, and leave it in place for the project's duration. (If the risers have already been installed, then retrofit the Muckstopper 450 by pushing it down into place before the cover and frame are fitted)
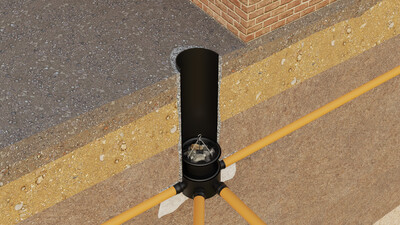
- Complete the inspection chamber installation, as usual, adding the rest of the risers. Still fit the cover and frame to prevent dirt from entering where possible. The MuckStopper 450 then acts as a last line of defence to catch any dirt that does enter.
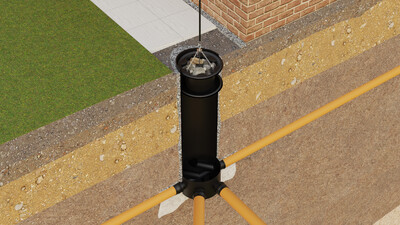
- At the end of the project, remove the cover & frame and the MuckStopper 450 with any debris it has collected, leaving the drains free of blockages.
- With the MuckStopper 450 removed, the final landscaping can be completed.
If you’d like more detail, read the full user guide.

Written by
Mark Chambers
Marketing Manager
As Marketing Manager, Mark plays an active role in running strategic projects to increase our brand profile.
